Projects
From Digital Design to Physical
by Adam Evenden on Sep.03, 2012, under Projects, Uncategorized
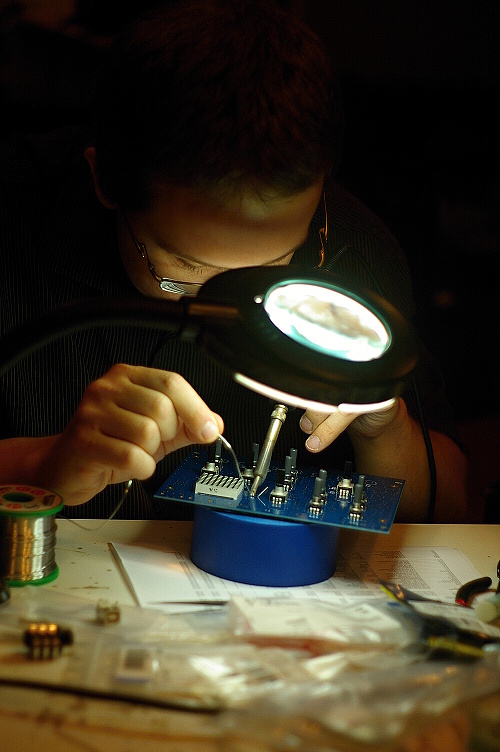
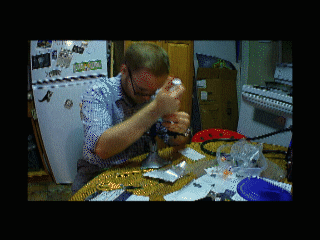
Assembly in Progress.
Brain Food – Double post; Raspberry Pi Cases and Train Overlord Progress.
by Adam Evenden on Aug.09, 2012, under Projects
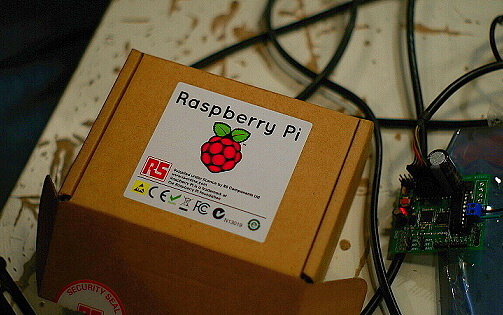
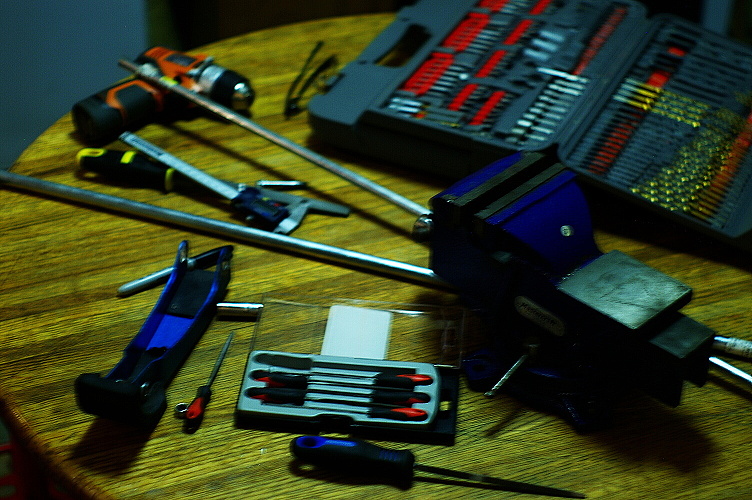
Here we see the box for the tasty Raspberry Pi on the left, and on the right the ever advancing brain for Train Overlord.
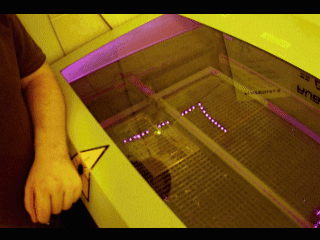
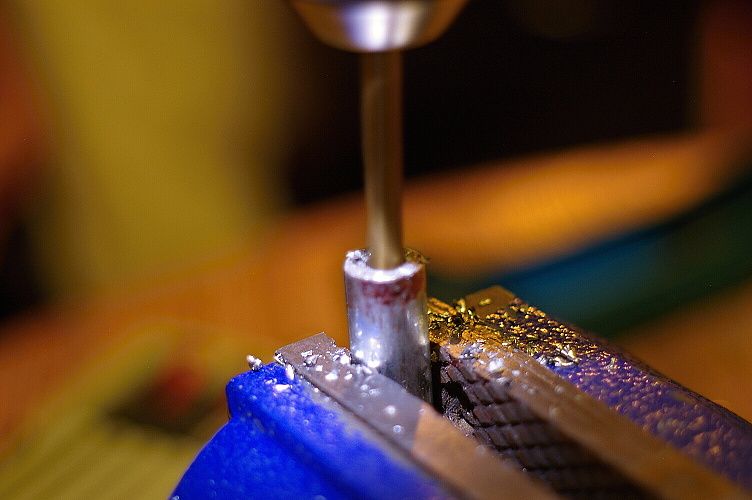
Second laser pass to finish cutting the acrylic plastic.
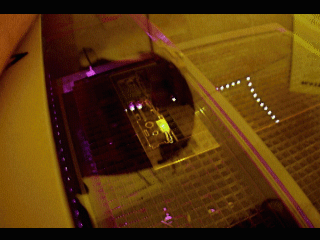
Close up look at the laser in action.
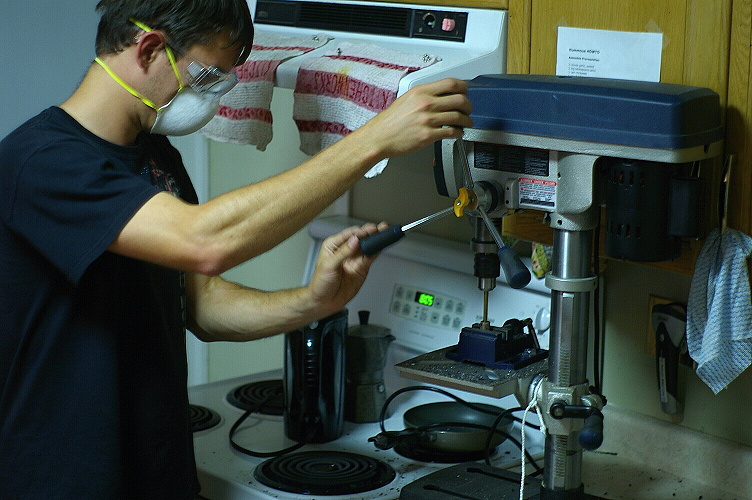
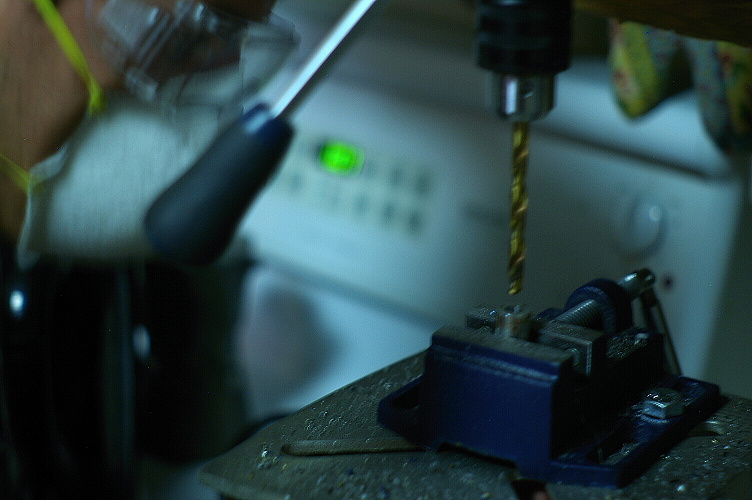
The Building of train overloads new brain.
by Adam Evenden on Aug.01, 2012, under Projects, Uncategorized
The Building of train overloads new brain. The PCB that Atrain is assembling in the GIF is a condensing of a stack of Arduino breakout boards and the Arduino that currently operate our metallic master.
Spring in ones step.
by Adam Evenden on Jul.26, 2012, under Projects, Uncategorized
Last week one of Hack Labs members finished some much needed repairs to his stilts. The stilts specifically needed a spacer/pivot, to be built to repair the joint. Not everyone made it down stairs to watch him try out the fruits of his labour so here is a GIF to show what many missed.


- Jumping in joy for the repairs are done. Then taking them for a spin.
Build Photos of the replacement joint.


Snake: Mastering the Joystick.
by Adam Evenden on Jul.17, 2012, under Projects, Uncategorized
Geordie rendition of the classic game of Snake as a GIF.
This weeks Hacklab Photo Round up in: 10 photos – Week of (July 8-14).
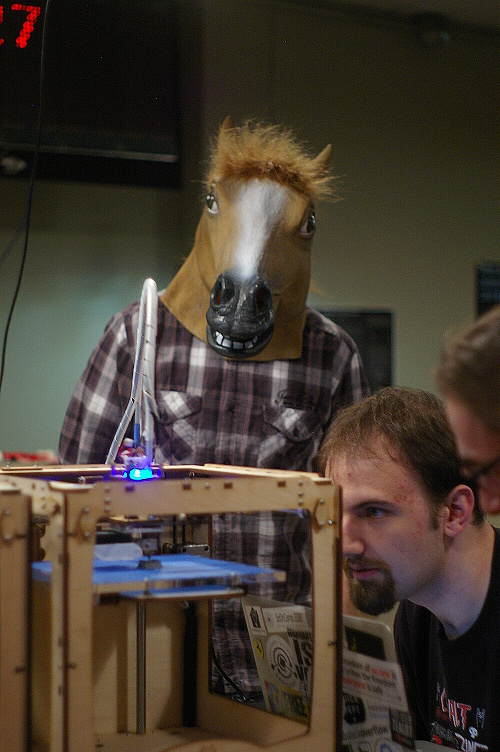
by Adam Evenden on Jul.14, 2012, under Events, Projects, Uncategorized
Every week for as many as I can I hope to post a collection of Images that depict what the space is all about. It may not be 10 photos each week it maybe more it may be less, but each photo is part of hack labs story.
Here is HackLab as I have glimpsed it this week.
1 - Community Service: The growing pile of E-Waste that community members have brought in for others to pick threw before being picked up by E-Waste disposal.

2 - Exploration: In a basement of a building in the market is a treasure trove of discovery to be found.
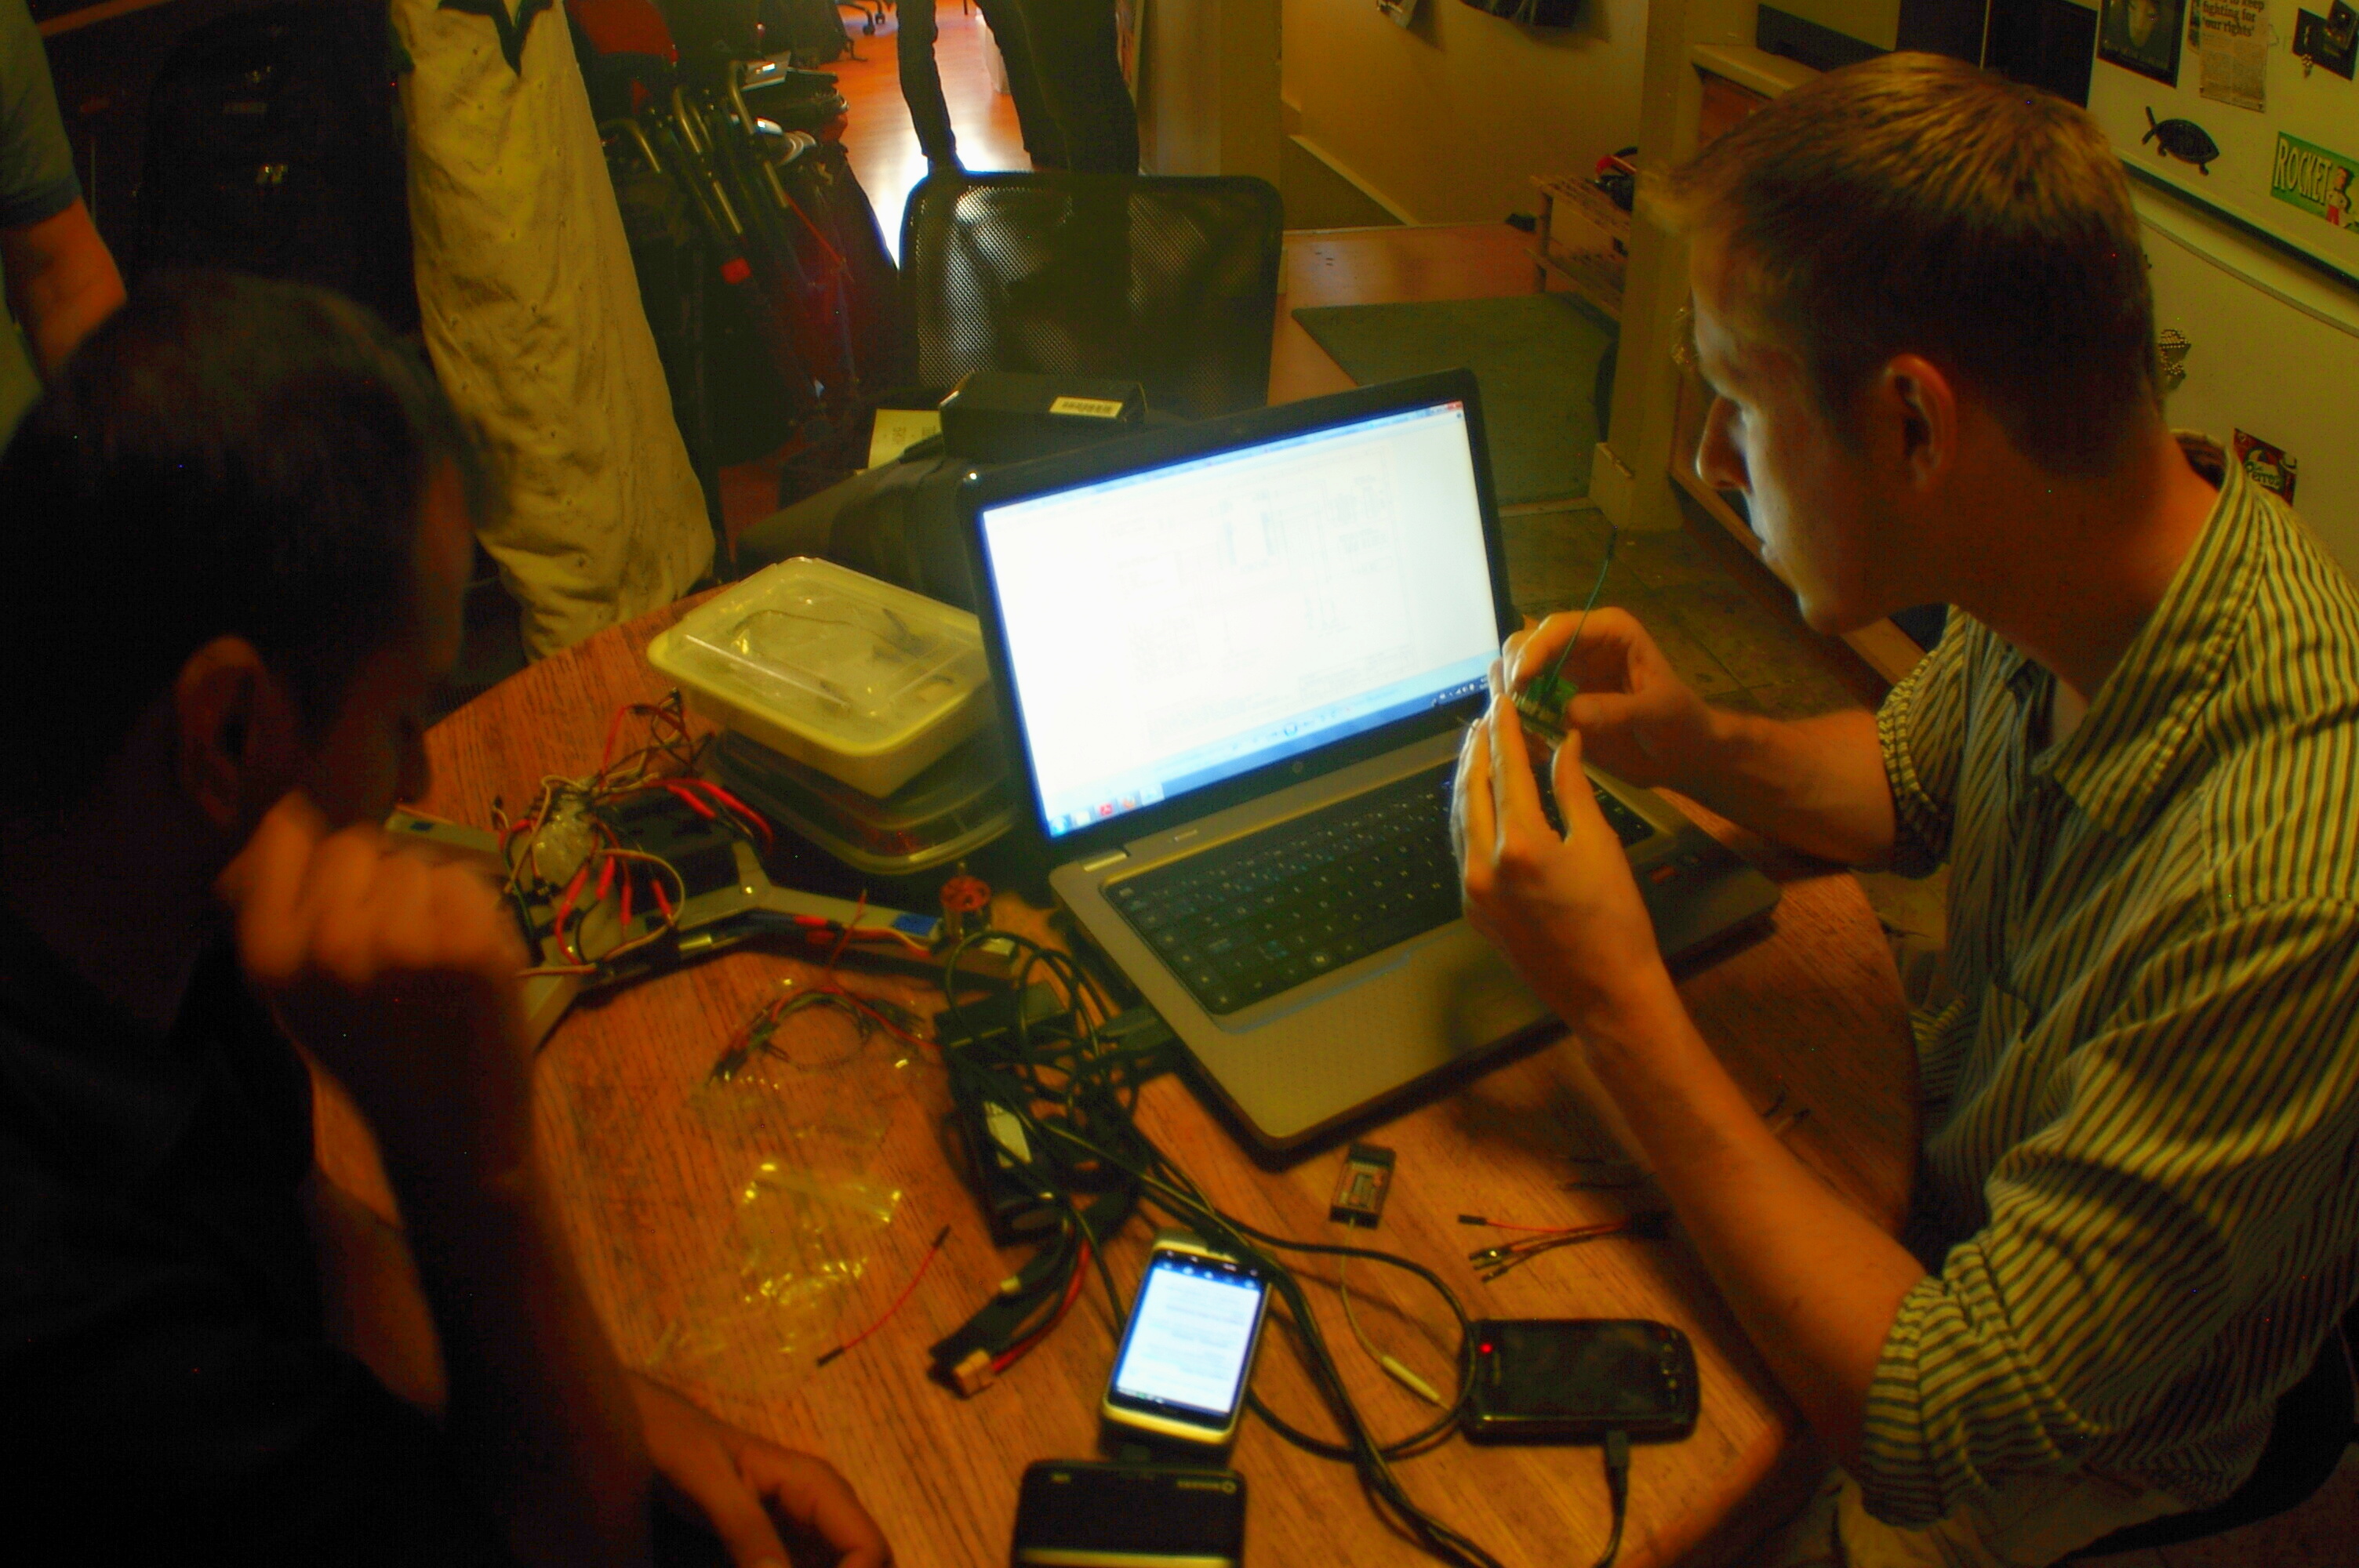
3 - Collaboration: Hard work and dedication to a project, can create wonderful things. The two individuals in this photo are working on a Quadrocopter .
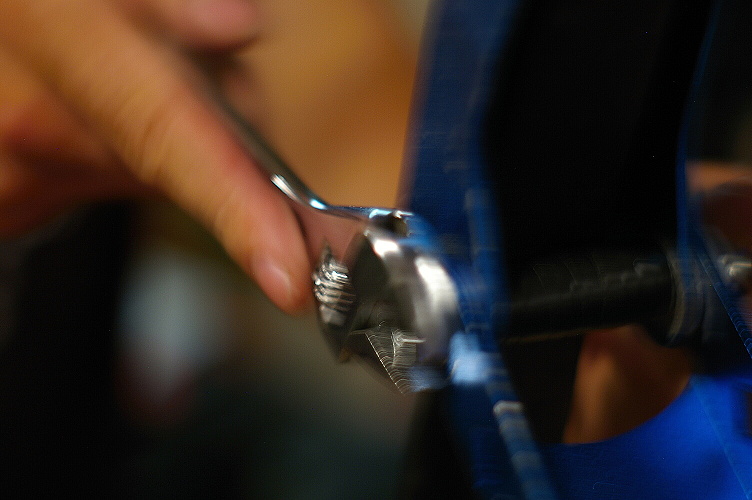
4 - Craftsmanship: Taking time to ensure everything is correct.
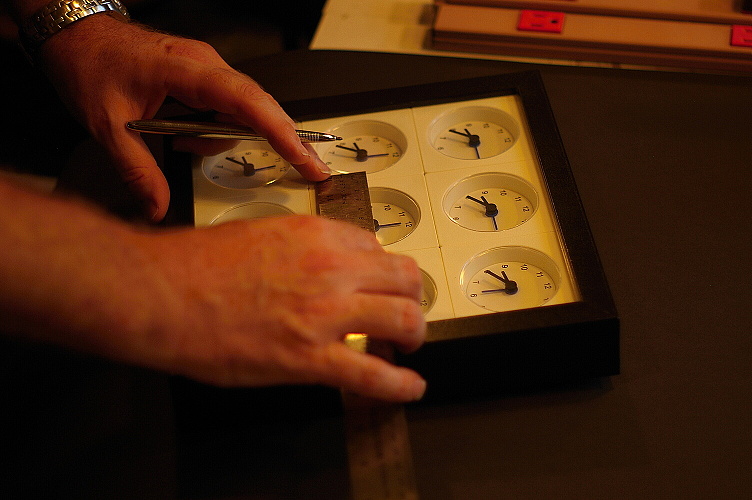
5 - Creativity: Measuring carefully to realize an idea.
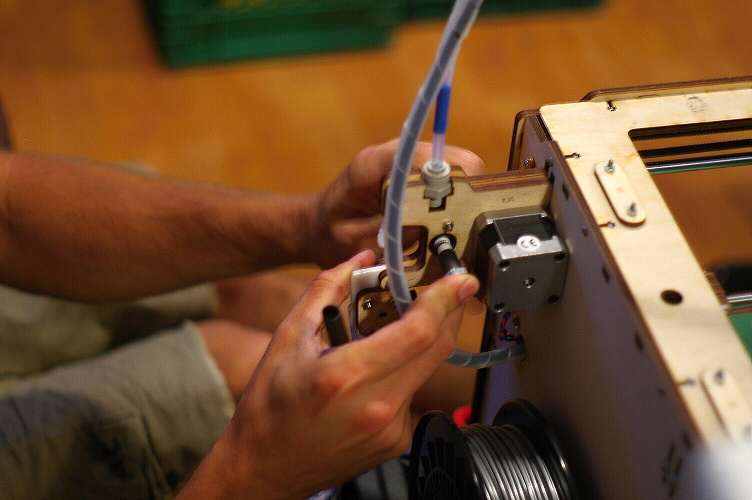
6 - Solutions: Problem solving is something I encounter often in the space, people come in with ideas and collaboration happens. It is not often I get to witness a solution executed so quickly. This instants part of the Ultimaker needed trouble shooting and a custom part was fabricated and installed.
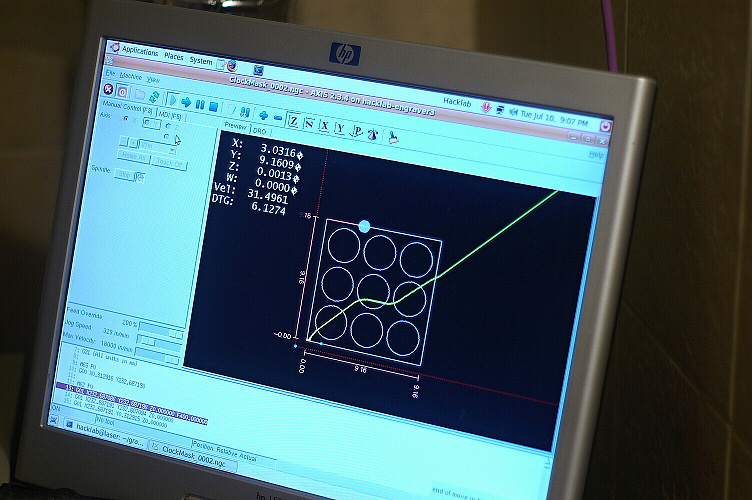
7 - Lasers: Always a cool thing, and in this case a laser cutter hard at work cutting out a Façade for a project.
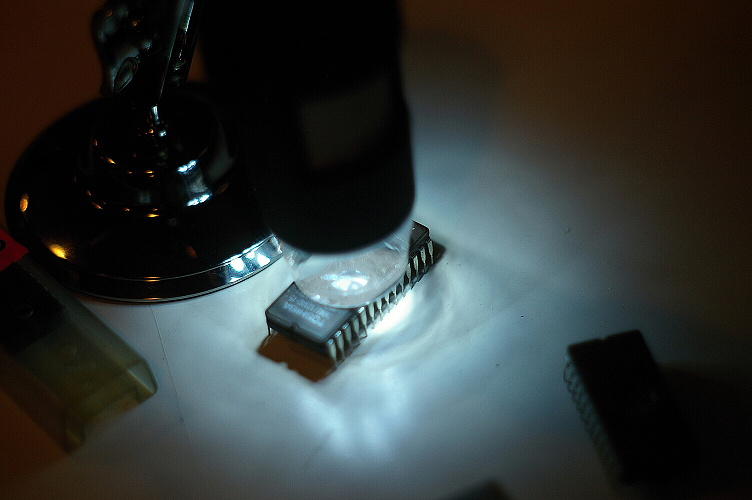
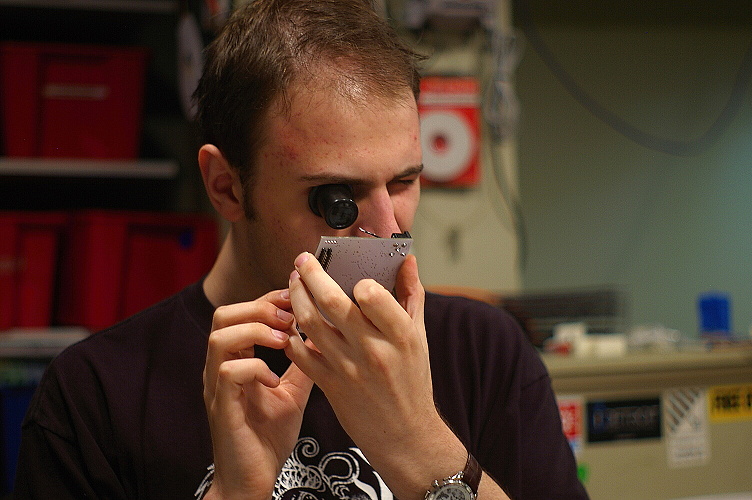
8 - Curiosity: Getting ready to examine a EPROM with a USB Microscope.
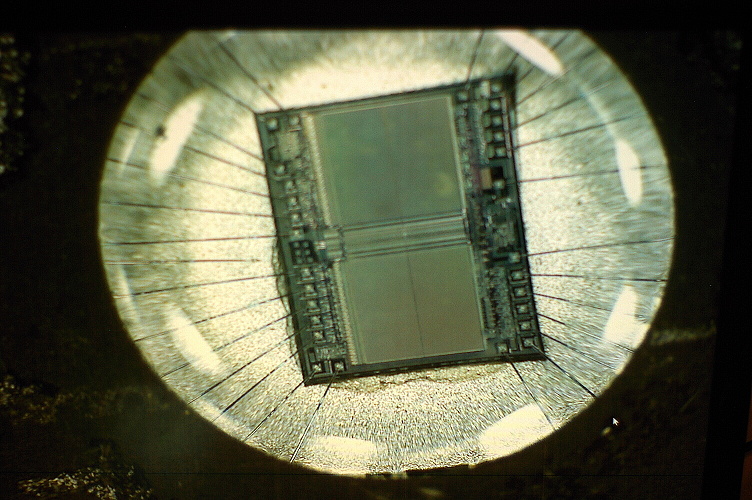
9 - Fascination: Exploring the depths of a EPROM with the USB Microscope.
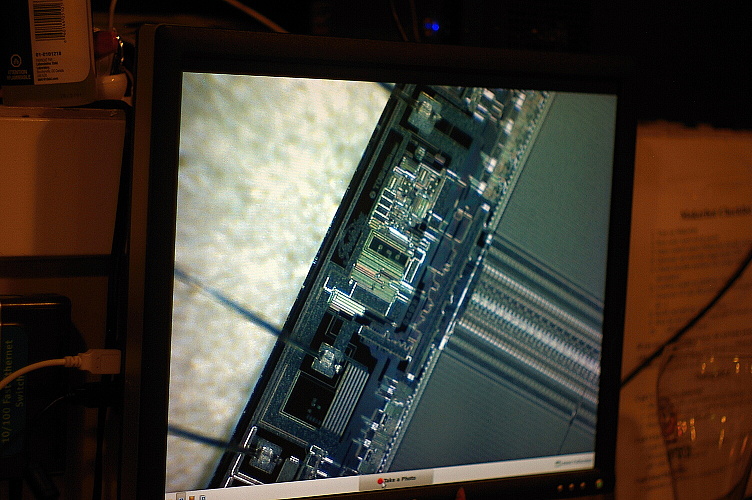
10 - Easter Eggs: Looking for those little surprises or unexpected discovery's. In this case we found the company's logo amongst the circuitry.
Photo Journalist in Residence Introduction & Updates.
by Adam Evenden on Jul.09, 2012, under Announcements, Projects, Uncategorized
I care to introduce myself, my name is Adam Evenden. Over the last few weeks I have slowly been moving into my new role as the Photo Journalist in Residence, at the HackLab.
Tuesday have been a magical time at the HackLab for me over the last 2 years that I have spent visiting the Lab. Having met many interesting individuals, heard many great ideas, seen many grand projects, and have always been excited to come back. I foresee meeting many new members in the future who I have not had the previous pleasure of meeting, and the enjoyment I have experienced in the lab so far extending into my new role as the Photo Journalist in Residence.
Over the recent years the lab I have had the opportunity to witness many entertaining moments at the hack lab, as well as triumphant progress within projects. I would like to share within my first post some of the moments I have captured at the hack lab over the last few weeks as the Photo Journalist in Residence, as well as some moments that I have captured while visiting Iceland’s hacker space Hakkavélin.
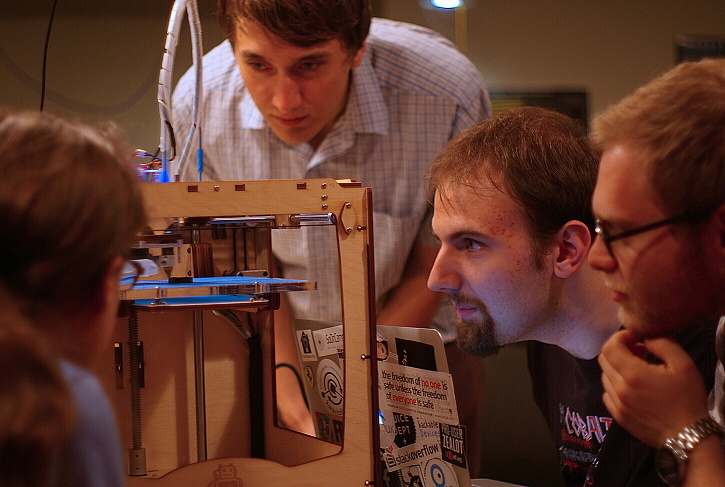
After all the spontaneity was done, Geordie, Atrain, Will, And Jed set to work on the Ultimaker. After much tweaking, fine tuning, and many hours spent working on the Ultimaker. We did not get out of the Lab till after 7am that night, and the time was well spent.
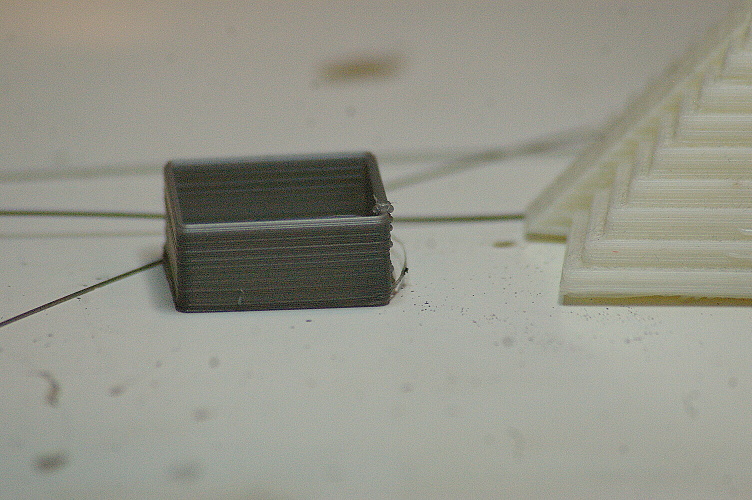
Successful Test Objected printed
The growth of Train Overlord
by Alaina Hardie on Apr.25, 2011, under Projects
Our robot has a frickin’ laser beam attached to it.
On April 8-9, hacklab.to members held a hackathon to build a lab robot. At the end of that day we christened our project Train Overlord.
The robot’s brain is an Arduino with an that lets it move bi-directionally on its track and raise and lower its winch basket. That–plus some IR end sensors that tell Train Overlord when it has reached the end of its track–was where we were at the end of the hackathon.
Oh, how Train Overlord has grown.
In the two weeks since the creation of Train Overlord, we have made some significant improvements and added lots of cool features.
The first problem we saw was that Train Overlord moved much too slowly for our tastes. After a trip to Creatron, we acquired a few parts and got to work on building a new engine.
The new engine gives a bigger electric motor and solid drivetrain than before. The previous setup was just a rubber wheel which used friction to move the train’s wheel. The new engine is essentially a gearmotor kit with a pair of train wheels axles mounted to it. One set of train wheels and axle roll freely (these are standard off-the-shelf wheels), while the other axle is mounted to our gearmotor and and has custom wheels that were printed with the lab’s MakerBot. Printing these custom wheels gave us the proper inner-diameter hole for mounting them to the gearmotor’s axle, and a larger outside diameter for a higher top speed.
The second problem was that the only way we could talk to Train Overlord was to connect its Arduino brain to a computer and upload new code. “This is nonsense,” we thought. “We’re living in the future and should be able to do this wirelessly. We dug around in our bins of parts for an XBee shield, a couple of XBee modules, and an XBee explorer to connect it to a Linux box that acts as a controller. XBee modules use the Zigbee technology to pass serial data over RF, which is a flexible and relatively low-tech solution to the issue. We then whipped up some Arduino code to accept simple one-letter commands, and a basic Ajax-ified web interface that you can use to build and execute a queue of these commands. More recently, we added an iPhone interface–either using an app Abtin wrote to communicate with Processing over Bluetooth, or another Ajax web app to send commands (go forward; go back; raise winch; lower winch; stop) to the robot.
Using the servo technology we learned about in this past Monday’s Arduino servo workshop, we constructed a pan and tilt laser mechanism. Our test program moves the robot back and forth, and then draws an infinity symbol with the laser. That’s right: Train Overlord now has a laser targeting mechanism. WIN.
Finally, we’ve made several improvements that help us collaborate on the project, including a public git repository and extensive documentation on Hacklab’s internal wiki.
Train Overlord is very much still in the development phase, but over the next few weeks and months we should have interesting and exciting stuff to share with the world.
Robot hackathon: meet our Train Overlord
by Alan Majer on Apr.11, 2011, under Projects, Uncategorized
This weekend’s robot hackathon was a huge success. Not only did everyone who participated have a blast, but we actually ended up with a nifty little robot too. You can also check out Eric’s blog post on the event as well as this fantastic set of flickr photos. Here’s a clip of the robot in action in one of our early tests:
The robot in the video runs on a set of powered train track rails. Power is drawn from the rails into the Arduino and the motor shield atop the carriage (photo: motorizing the carriage). The arduino is our robot “brain” (photo: coding the brain) that issues all the movement and LED blink commands (yes, any robot worth its salt MUST have blinking LEDs). While we now have several feet of track installed, this turned out to be a difficult job since hacklab apparently has a 4″ thick concrete ceiling. But thanks to a lot of hard work (photo: drilling the ceiling) it’s now rock solid and looks awesome. The idea is to lay additional track that will eventually allow the robot to drive along the ceiling all over the lab. Our “use case” is a robot that can be commanded to head over to the desks, pick up empty pop cans and ferry them over to the recycling bin (more about that in a moment).
After the above video was taken, we started to outfit the robot with additional capabilities and sensors. The first was a Sharp IR distance sensor that we’d like to use for robot positioning along the track. The second was this little contraption (see if you can guess what it is before scrolling further):

This little gadget is actually a winch that can raise or lower a bucket from the robot. In our proposed pop can pickup “use case” the winch is what will enable the robot to pick up and deliver pop cans to the recycling bin. …what? “ugly” you say? Not to us. What it lacks in sleek lines and striking curves is overshadowed by character and performance. As an example, if you look carefully, on the left side of the spool we have a heart shaped piece of acrylic that serves as our motor hub (yes, every self respecting robot needs a heart)! And equally cool is that just above it we have a limit switch with a roller on it that tracks along the edges of the heart as the spool turns, sending our robot three electronic “clicks” each rotation (two at the top of the heart and one at the bottom) that help us encode/track the position of the winch. It also has a homing switch at the top to allow the robot to figure out where the bucket is after a reboot. So will it lift a pop can? You bet! The heaviest object we tested with it was the fire extinguisher …which it lifted without a problem!
And of course, this is just the beginning. We have lots of code left to write, track to lay, and sensors to add. We also plan to give the robot a xbee wireless connection so we can issue it commands from within the lab as well. Adding a pan/tilt laser pointer atop the robot is also on our to-do list.
Thanks to everyone for an awesomely fun weekend, and feel free to roll up your sleeves and join us on this project as Hacklab’s Train Overlord continues to evolve!
Build a Theremin @ Hacklab
by elmood on Mar.28, 2009, under Projects, Workshops
IMPORTANT UPDATE: (2009-03-30) The workshop is now full. – Andrew
Okay electronics and music enthusiasts, it’s time to get out your soldering irons! (or buy one if you don’t have one yet) We’re going to build Theremins! (no experience required) If you’re not familiar with this amazing musical instrument, check out the following video of Clara Rockmore, or read the Wikipedia page.
We’re going to build a design by the late great Robert Moog. The circuit is excellent, easy to build, and you’ll end up with a professional-quality instrument on par with any commercial model. This is a great opportunity to learn some soldering and electronics skills and build a unique project. We’re going to provide kits since many of the parts are hard to find and expensive in single quantities. Here are the important details:
- Andrew Kilpatrick will lead the group
- Members and non-members are invited to take part – no electronics experience is necessary
- A maximum of 6 spaces are available this time around
- 4-6 workshops on Wednesday nights to build the project (extra time available as needed)
- Parts and supplies will cost approx. $120 – Please pay in advance to reserve your space.
- includes quality parts, PCBs, power supply, connectors, controls
- includes an acrylic laser-cut control panel (your choice of colour!)
- doesn’t include a wooden enclosure – we can build some here if someone wants to help
- Andrew is designing an optional amplified speaker which you can build for approx. $50
Please email Andrew: hacklab-mail at andrewkilpatrick.org to express your interest and reserve a space. Once we have six people signed up and paid up we’ll get the parts and start building. Andrew will mail participants with more details.